Natural light plays a crucial role in travel photography, influencing the mood and quality of images taken on the road. Harnessing the right natural light can transform ordinary scenes into stunning images that capture the essence of travel experiences. From the soft glow of dawn to the golden hour just before sunset, understanding how to use light can significantly enhance the visual storytelling of any journey.
Travel enthusiasts often overlook the potential of natural light, but its benefits can elevate photos from average to exceptional. Timing and location are key; shooting at different times of the day or in various weather conditions can yield varied results. By observing these elements, photographers can seize opportunities that naturally illuminate their subjects and create captivating compositions.
Effective use of natural light not only enriches travel images but also helps convey the emotions and atmosphere of a location. Whether it’s the vibrant colors of a bustling market or the tranquil ambiance of a serene landscape, employing natural light techniques will lead to more compelling and engaging photography.
Mastering the Basics of Natural Light in Travel Photography
Natural light is a fundamental element in travel photography. Understanding how to use it effectively can lead to stunning images that capture the mood and atmosphere of a location. Key lighting conditions, such as soft light and specific times of day, greatly influence the quality of photographs.
Understanding Different Lighting Conditions
Different lighting conditions can dramatically affect travel photography. Harsh midday light often creates unflattering shadows and highlights, making it hard to capture detail. The best approach is to seek softer light, which is usually found during early mornings or late afternoons.
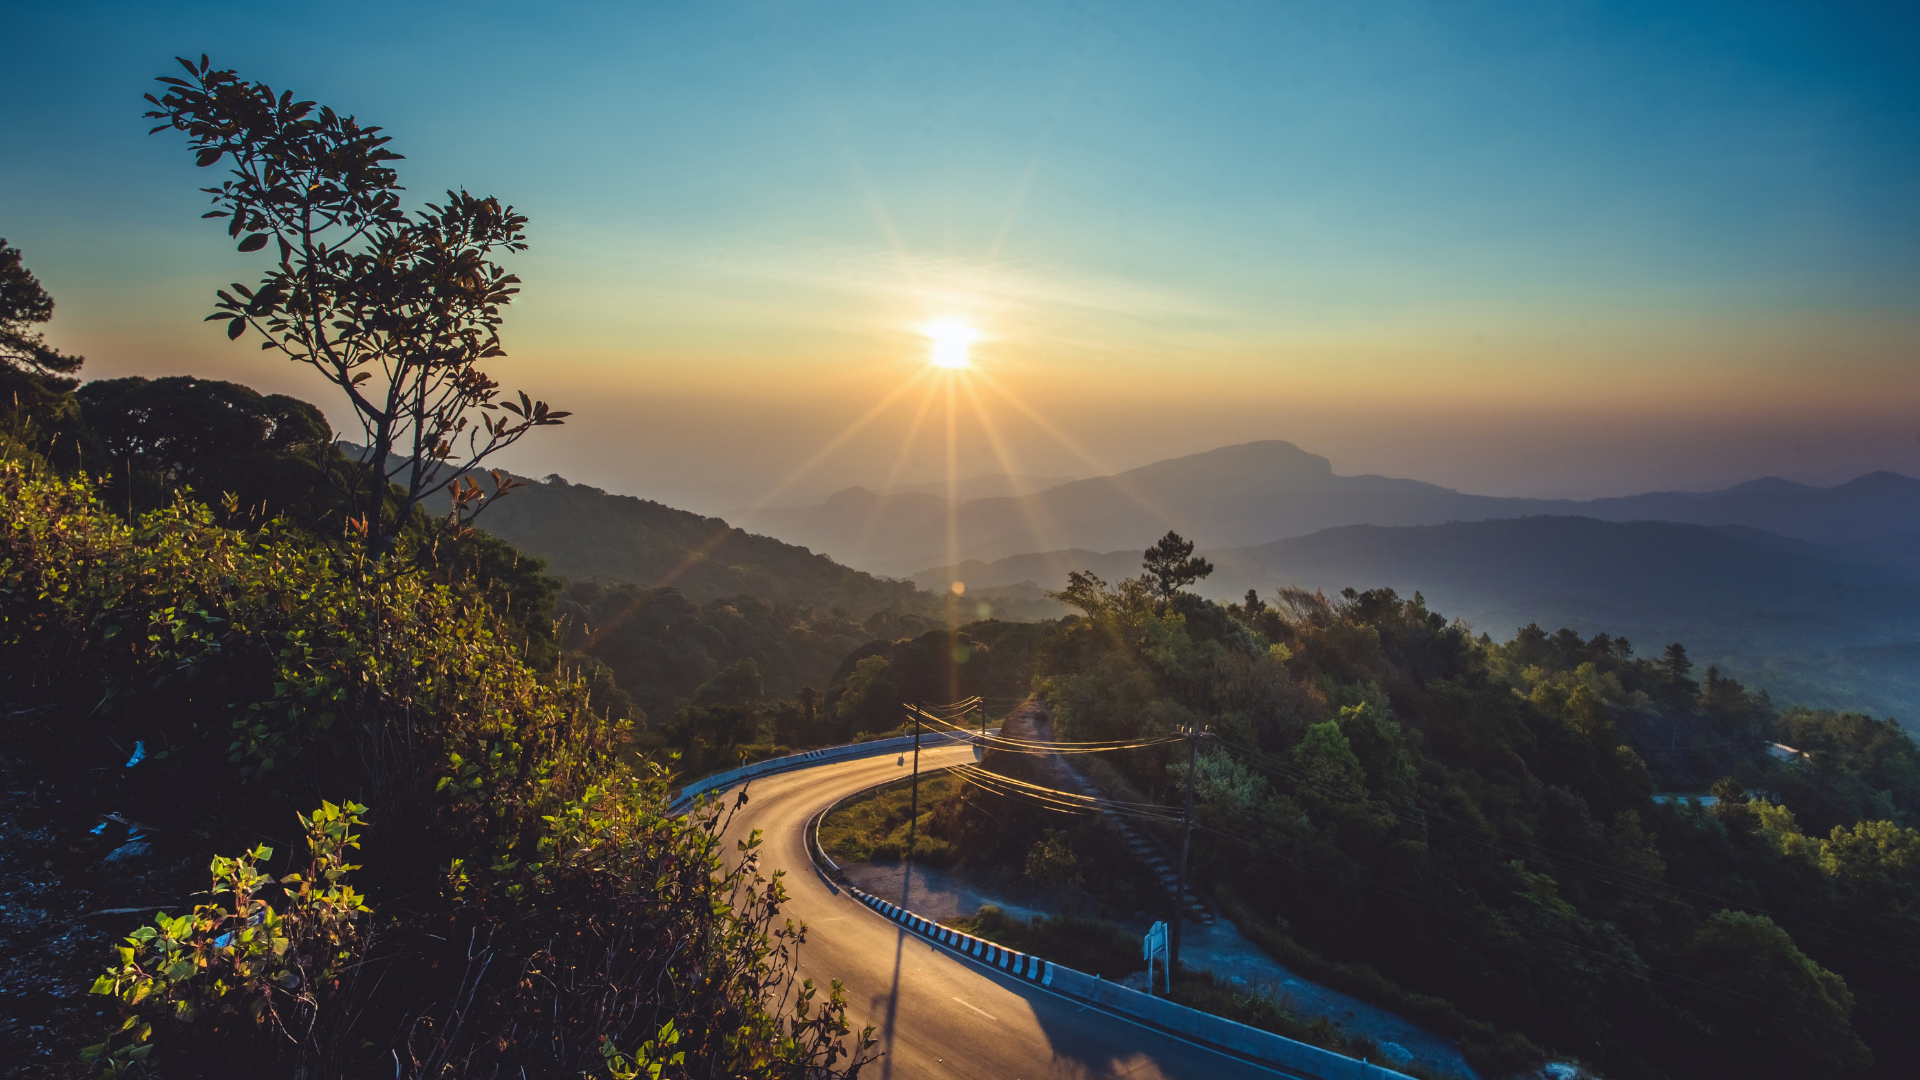
Golden hour refers to the period shortly after sunrise or before sunset when the light is warm and diffused. In contrast, harsh light can often create unappealing contrasts. Photographers are encouraged to adapt their techniques based on these conditions to achieve the best results.
Identifying Golden Hour and Blue Hour
Golden hour provides a rich, warm glow ideal for travel photography. It typically occurs within the first hour after sunrise and the last hour before sunset. Knowing the exact times for golden hour can elevate the quality of photographs significantly.
Blue hour, occurring just before sunrise and after sunset, offers a cooler, serene light. This period highlights the sky in deep blues and purples, contrasting beautifully with illuminated buildings and landscapes. Recognizing and planning for these hours enhances the potential for striking images.
Benefits of Soft Light and Overcast Days
Soft light, especially on overcast days, has distinct advantages. It minimizes harsh shadows, allowing for more evenly lit subjects. This quality is beneficial in capturing forthright details of landscapes, architecture, and subjects without overwhelming contrasts.
Overcast conditions often yield vibrant colors and increased texture. These conditions can create a mood of calmness and serenity, making it easier to convey the atmosphere of a location. Photographers should embrace these moments, as soft light can lead to stunning images that might not otherwise be achievable in direct sunlight.
Techniques to Enhance Your Travel Photos with Natural Light
Natural light offers various opportunities to elevate travel photographs. By understanding how to manipulate light and shadows, photographers can create images that are visually compelling and full of depth.
Using Direction of Light for Depth and Dimension
The direction of light plays a critical role in shaping photographs. When light comes from the side, it accentuates textures and adds dimension to the subject. Photographers can use this to their advantage by positioning subjects where the light casts interesting shadows.
For landscapes, shooting during the “golden hour,” just after sunrise or before sunset, maximizes depth. The sun’s low position bathes the scene in a warm glow, creating long shadows that enhance the three-dimensional feel. Photographers should experiment with different angles to see how light interacts with their subject. This exploration leads to dynamic compositions that captivate viewers.
Creative Use of Shadows and Contrast
Shadows are powerful tools in photography that contribute to mood and dimension. By embracing shadows, photographers can add intrigue to their images. They should look for unique patterns and shapes created by shadow play.
High-contrast scenes can evoke strong emotions and draw attention to the subject. Utilizing shadows effectively can transform ordinary scenes into striking visual narratives. To enhance contrast, photographers might consider using a reflector to bounce light back onto the subject. This technique softens shadows while maintaining the overall impact of the image.
Backlighting and Silhouette Photography
Backlighting, where the subject is illuminated from behind, offers a chance to create stunning silhouettes. This technique works best when photographing subjects aimed at capturing their outline, allowing the background light to define their shape.
Photographers should seek out situations where the sun is directly behind the subject. This placement creates a dramatic effect that emphasizes shapes and forms. In addition, backlighting can enhance textures in subjects like foliage or fabrics. When exploring this method, photographers gain an alternative perspective that adds artistic flair to their work.
Utilizing Reflected and Diffused Light
Reflected and diffused light can soften images, creating a more natural, flattering appearance. Photographers often make use of reflectors to redirect light onto their subjects, improving illumination without harsh shadows. Diffusers are equally valuable when shooting in bright conditions. They help to soften direct sunlight, reducing glare and harsh contrast. This results in more balanced exposures.
Photographers should look for natural reflectors, such as water or light-colored surfaces, that can bounce light back onto their subjects. Using these techniques allows for more nuanced photographs that maintain detail and clarity.
Optimizing Camera Settings and Gear for Natural Light Shooting
To capture stunning travel photos using natural light, it is crucial to adjust camera settings effectively and utilize the right gear. This section covers key aspects such as selecting the optimal camera settings, using a tripod for stability, and balancing exposure in challenging lighting conditions.
Selecting Aperture, ISO, and Shutter Speed
Aperture, ISO, and shutter speed are fundamental settings that directly affect the outcome of travel photos.
- Aperture: A wider aperture (lower f-number) allows more light, creating a shallow depth of field, which is ideal for portraits or isolating subjects. A narrower aperture (higher f-number) increases depth of field, suitable for landscapes.
- ISO: Lower ISO values (100-400) work best in bright conditions, reducing noise. For low-light situations or longer exposures, increasing ISO (800-1600) can help, but excessive noise may appear.
- Shutter Speed: Faster shutter speeds (1/500s or higher) freeze motion, while slower speeds (1/30s or lower) can result in motion blur. Long exposures can create smooth water effects, often requiring a tripod.
Understanding how these settings interact helps photographers achieve the desired exposure and artistic effect in their images.
Using a Tripod for Stability
A tripod enhances stability, especially in low-light conditions or long exposures.
- Benefits: It reduces camera shake, ensuring sharp images. This is vital in capturing details in low light or while using slow shutter speeds.
- Types: Travel tripods are lightweight and portable, making them ideal for frequent travelers. They offer a balance between sturdiness and convenience.
- Techniques: When using a tripod, set the camera to use a timer or a remote shutter release. This minimizes any vibrations from pressing the shutter.
Utilizing a tripod opens up possibilities for HDR photography, allowing photographers to blend multiple exposures for better dynamic range.
Balancing Exposure in High Contrast Scenes
In high contrast scenes, achieving balanced exposure can be challenging.
- Dynamic Range: Cameras have a limited dynamic range, which may result in blown highlights or lost shadows.
- HDR Photography: Creating an HDR image through multiple exposures helps in capturing details across a broader range of lighting conditions.
- Graduated ND Filters: These can balance brightness between the sky and foreground, enhancing the overall image quality.
Adjusting to the lighting conditions and employing these techniques ensures that both highlights and shadows are well-defined in the final photograph.
Advanced Tips for Different Subjects and Post-Processing
Utilizing natural light effectively can transform travel photography. Different subjects require tailored techniques, along with careful post-processing to enhance the final image. This section provides advanced tips for perfecting various scenarios.
Perfecting Portraits and Cityscapes with Natural Light
For portraits, window light can create beautiful results. Shooting in front of a large window during the golden hour softens shadows. Using curtains can diffuse harsh sunlight, resulting in a more flattering glow on skin tones. Side lighting can enhance textures, adding depth to facial features.
In cityscapes, capturing buildings during the blue hour offers captivating colors. Positioning the camera to include reflections in water or glass enhances visual impact. Framing subjects with natural elements or interesting architecture can create unique perspectives.
Enhancing Landscapes and Macro Photography
Landscapes benefit from different times of day. Early morning or late afternoon provides softer, warmer light, accentuating colors. Using leading lines in composition helps draw the viewer’s eye through the image. Experiment with framing elements like trees to create depth.
For macro photography, controlling light is essential. Utilizing a diffuser can minimize glare on small subjects. Close-up shots with front light reveal intricate details. Adjusting white balance can enhance colors, making flowers and insects appear vivid.
Editing Travel Photos in Adobe Lightroom and Photoshop
Post-processing enhances the raw power of natural light. In Adobe Lightroom, adjusting exposure, contrast, and saturation can dramatically alter the image. The ‘Graduated Filter’ tool is beneficial for landscapes, allowing for selective adjustments to skies.
Photoshop offers more detailed capabilities. The ‘Dodge and Burn’ tools can fine-tune light and shadow, adding depth to portraits. Layer adjustments in Photoshop allow for precise control over specific areas, improving overall composition. Retouching skin tones or removing distractions can elevate the final image further.
Managing Artificial Light and Fill for Challenging Conditions
In situations where natural light is insufficient, using artificial light can supplement what’s missing. For portraits, a simple LED panel positioned at a 45-degree angle can create flattering fill light. Sidelighting enhances texture and dimension in subjects.
When facing harsh midday light, a reflector can redirect light to fill shadows or soften contrasts. Utilizing blinds can shape and control light in indoor settings. For product photography, a combination of artificial light sources and natural light can yield stunning results, ensuring products are well-lit and visually appealing.